How to Edit Underwater Images with Photoshop
Editing underwater images can be the difference between an average photo and an award winning one. Here are a number of tips to understand the process and how to create an edit you are satisfied with.
The benefit of the digital age is having the ability to take a large number of images and being able to choose the best one to edit. Shooting in RAW files allows the best possible resolution, and the best file for editing.
 Firstly make sure you store your images sensibly. With RAW files especially, a large number of files can quickly take up a lot of space on your computer or hard drive. Don’t keep photos that are not desirable, photos with only water or ones out of focus for example can be deleted, saving space. In addition it is wise to name your files in a specific way, as having multiple files with similar names, for example 351.jpg, 352. jpg, can be confusing. Rename with imaginative names such as Manta @ Socorro and Hammerhead @ Daedalus Reef.
Once you have identified the desirable images, it is time to open Photoshop CS6 and begin the editing process. Open the files that you want to edit and then click FILTER, and then CAMERA RAW FILTER. Here you will be able to add various effects to your image. With underwater images there are certain changes that are required more than others.
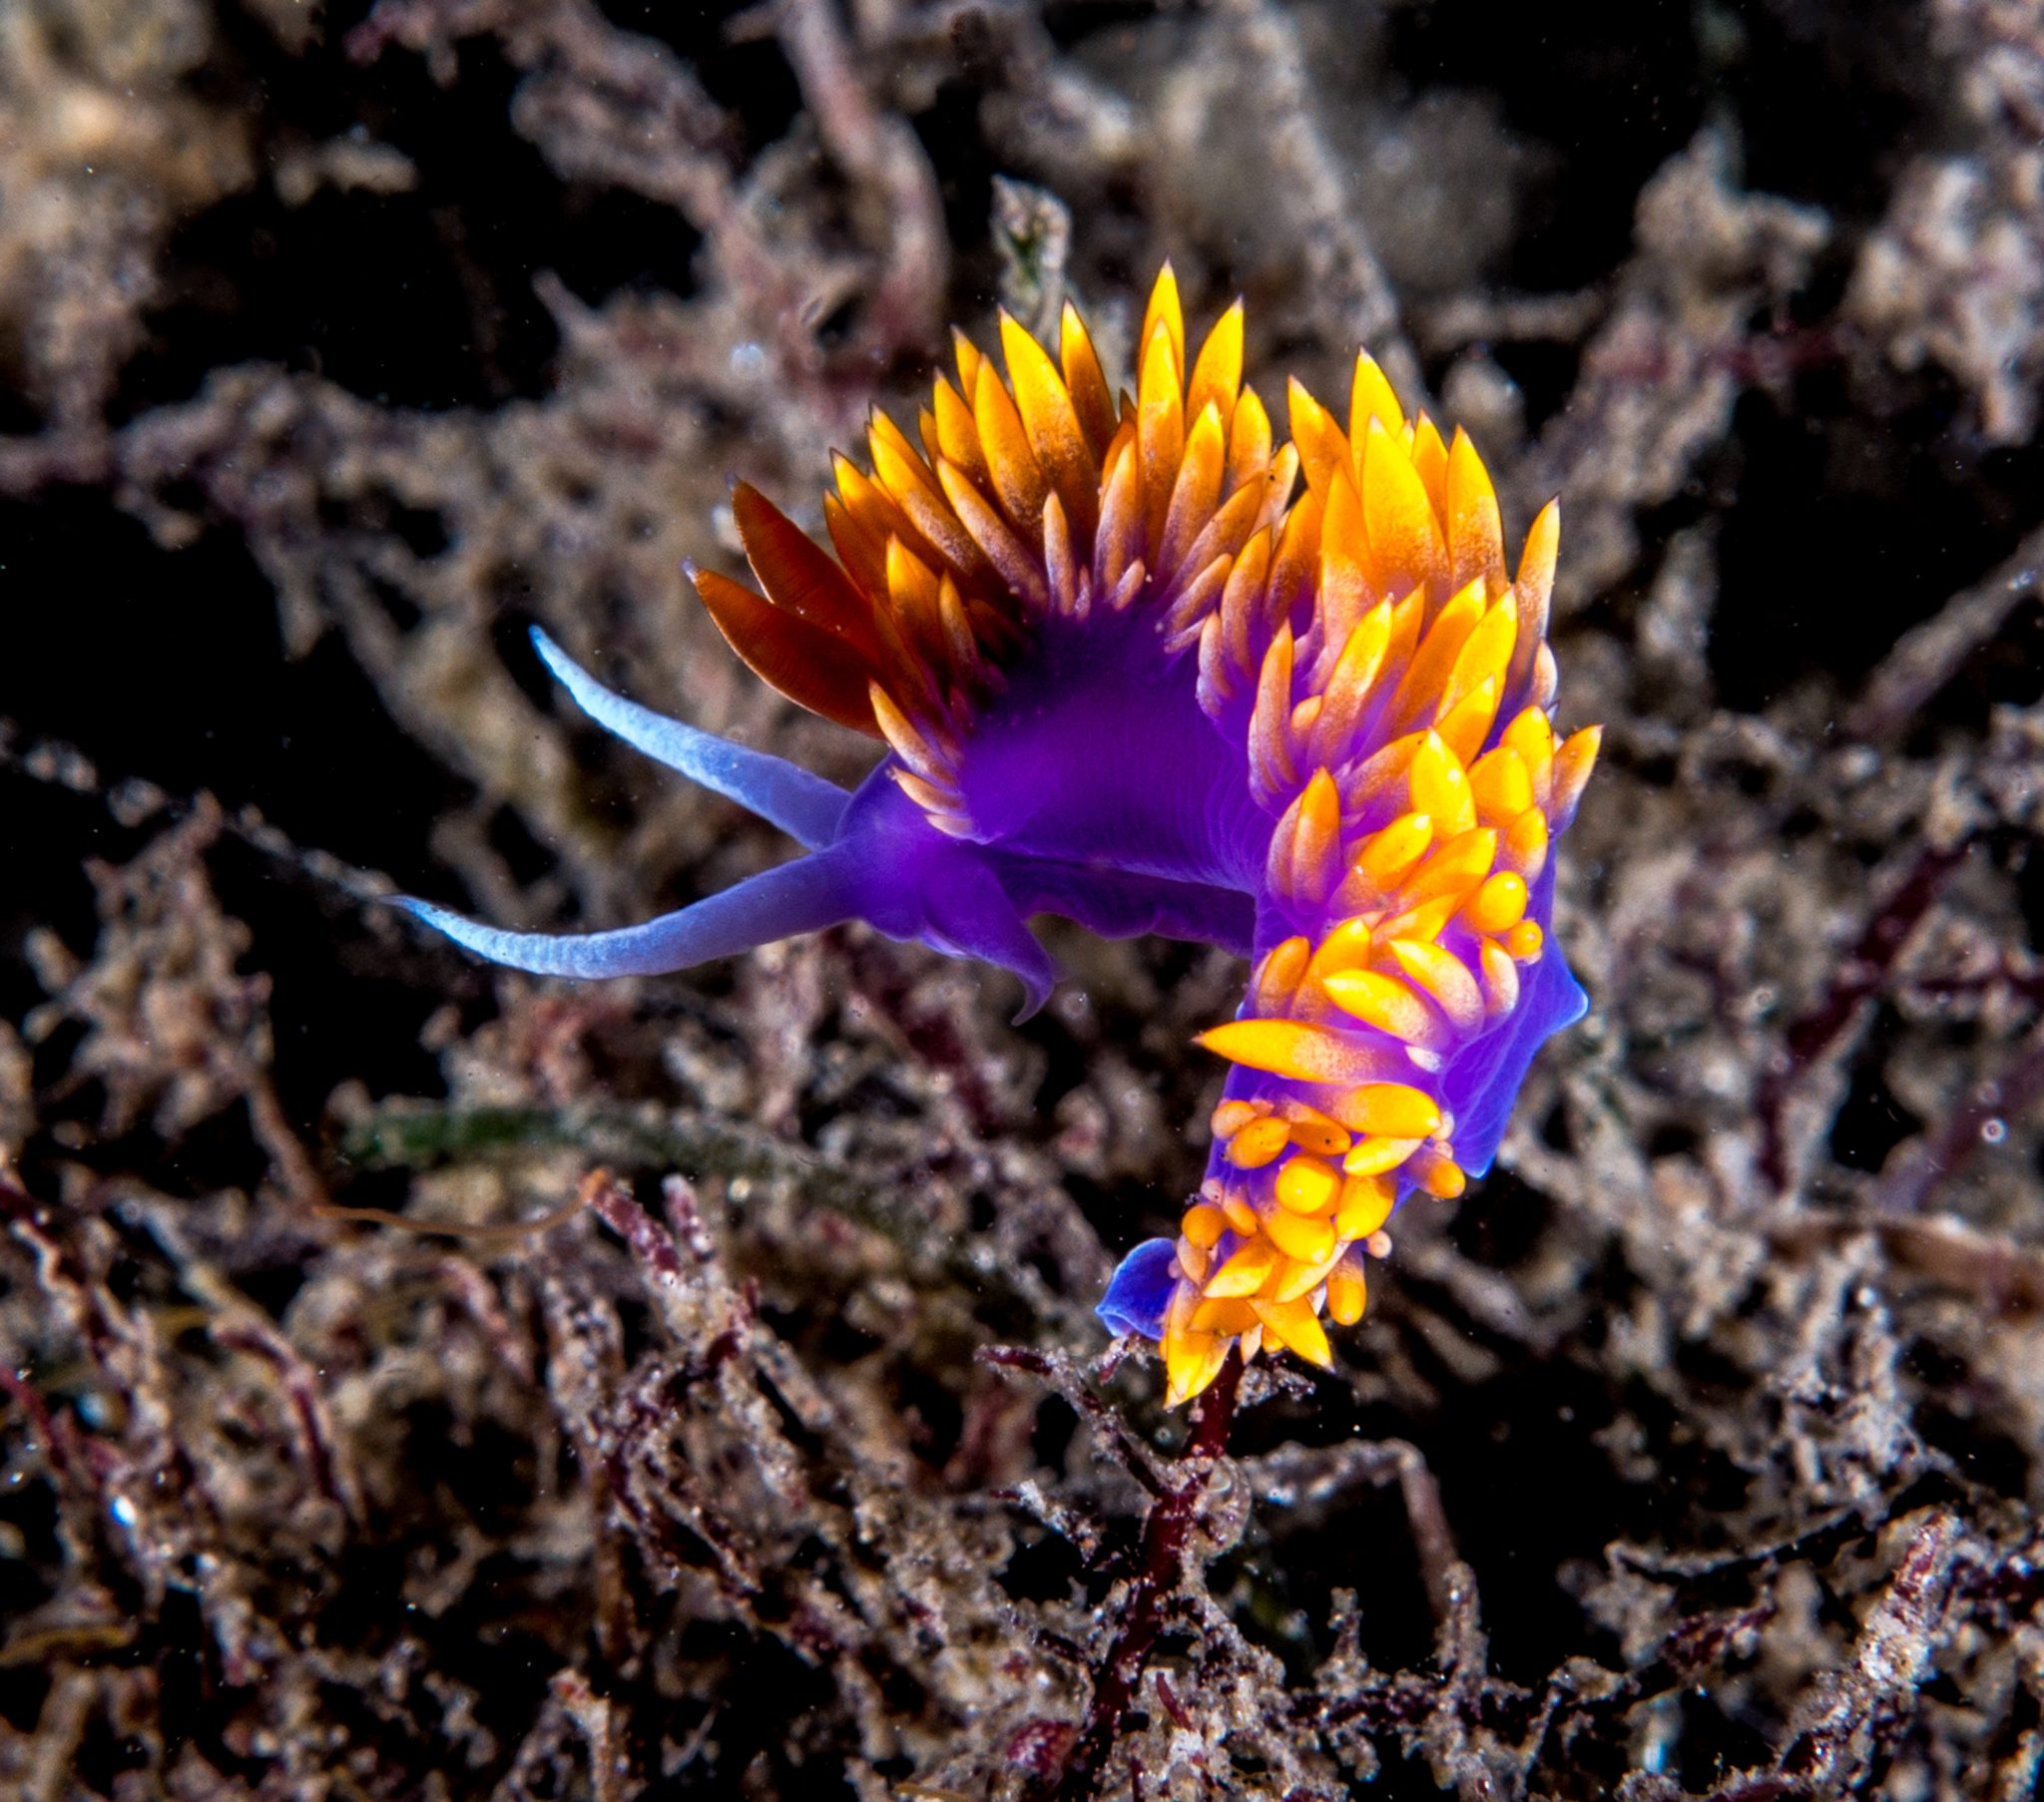
It is usual to increase clarity slightly to create a sharper image of the main subject whether it be a wreck or a nudibranch. Furthermore increasing both the contrast and the saturation will add a bluer quality to the water and a more ascetically pleasing look. Furthermore with depth the various colours in the spectrum disappear, and for that reason many cameras have the ability to be compatible with a red light filter that brings the colour back to the image. However some cameras do not, and the colour balance slider on Photoshop will allow you to do just that, create your desired colour in your image by adding more of one colour than another.
 One big issue with underwater images is backscatter. These dust or plankton particles that are in the water are illuminated by the flash, and for that reason can create a photo with many spots. However do not panic, editing the image in Photoshop you can completely eradicate the spots. Using the CLONE STAMP TOOL select a part of the image without backscatter and then clone that part onto the area with spots. This will create a spot free image. While this may take time, it will be worth it at the end.
Finally cropping an image is extremely important, as it will make or break an image. Cropping is imperative due to the fact it can cut out the dead space in an image. The dead space is the part of the photo that has no use, no relevance. If there is too much ocean in a picture of a shark your eye is drawn more on the empty space rather than the intended subject. For that reason crop the empty space.
Editing your images can be easy, yet it takes time and practice. However, once you understand the process, it can be used to create the perfect image.

About The Author
Chris Vyvyan-Robinson
Born in London, England; Chris’ passion for photography and videography started from an early age. Over the last 20 years he has travelled to 5 of the 7 continents, including a year in South and Central America.
Chris’s passion is documenting the underwater environment and the creatures that inhabit that ecosystem. Over the past 4 years, while graduating from university with a degree in Film & Journalism, he has worked in Honduras, Indonesia and The Azores as a Divemaster & Guide.
Now an award winning filmmaker, Chris’ aspiration is to become a natural history cameraman.
Chris writes scuba diving articles for ScubaDiveMarketing.com who provide design, development and marketing to dive shops around the world.